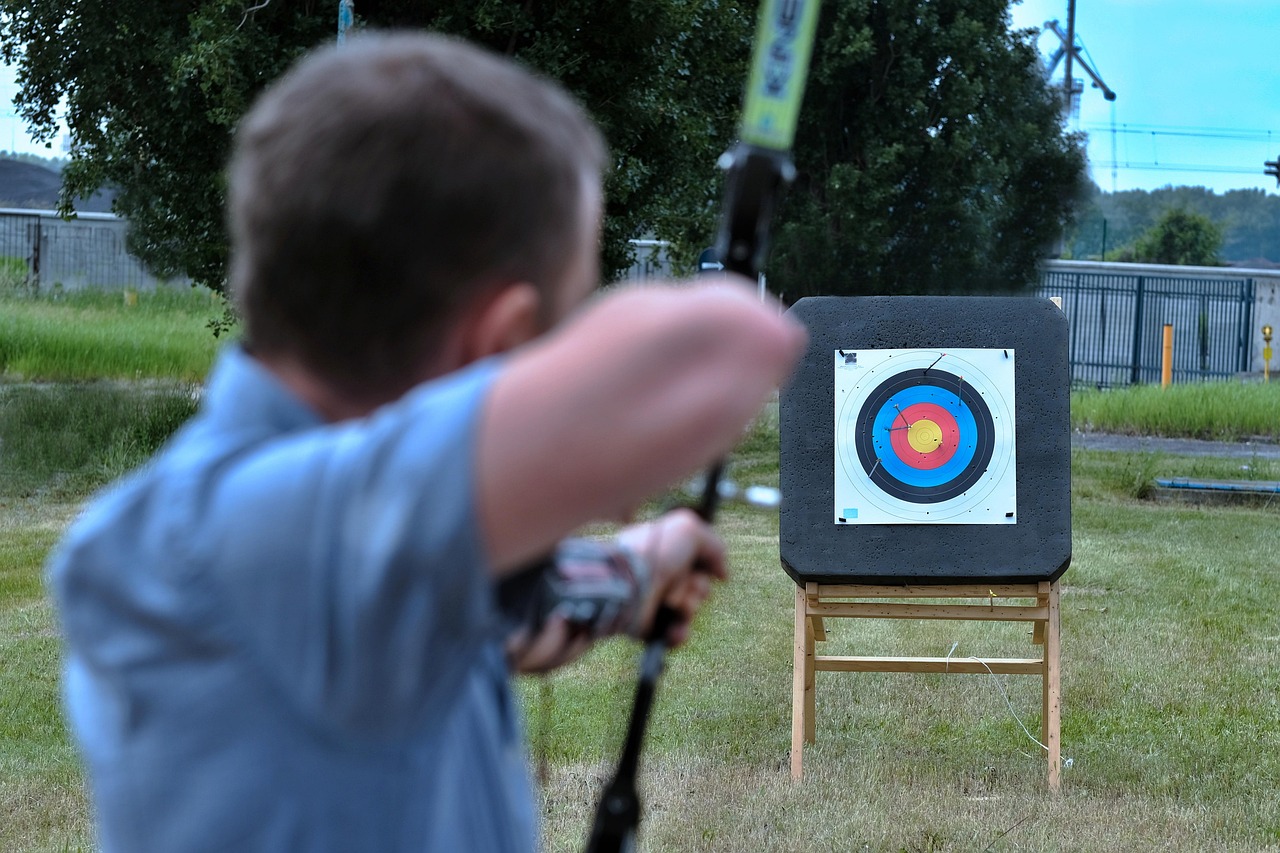
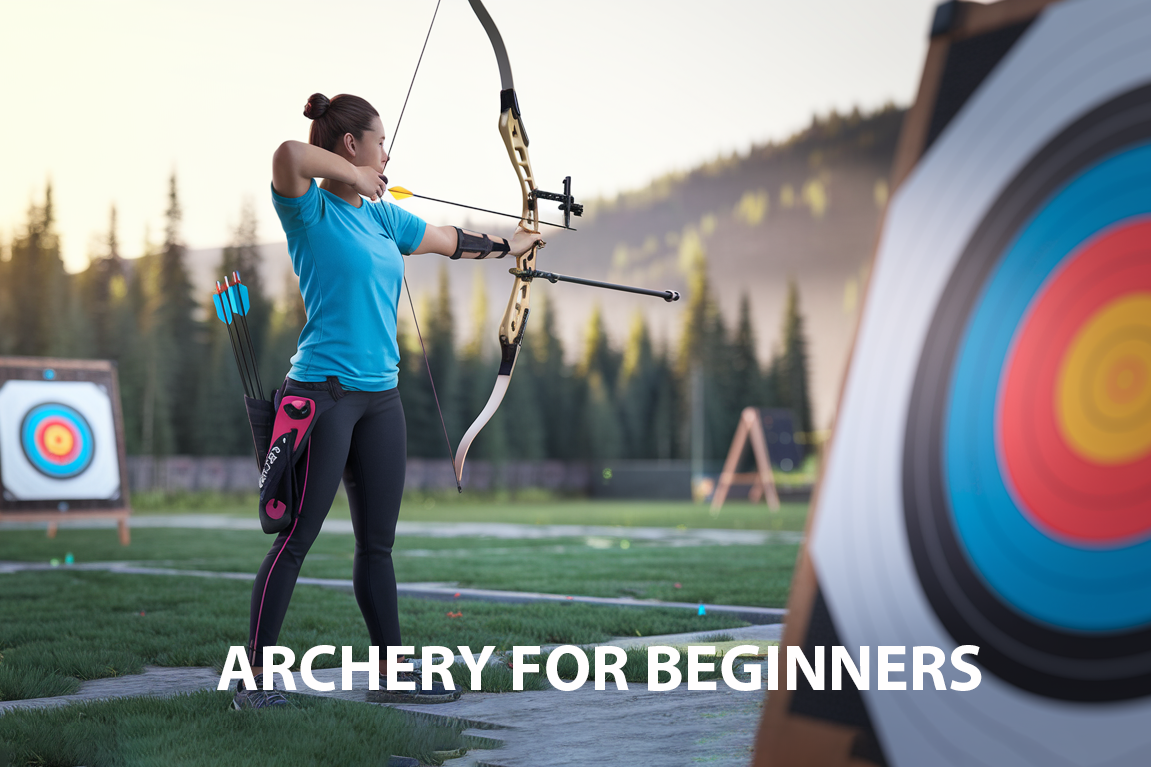
Ever watched an archer hit a bullseye and thought, “I want to do that”? You’re not alone. Archery has captivated humans for thousands of years, evolving from a survival skill to an Olympic sport that combines precision, focus, and a touch of zen. But where do you begin? As someone who stumbled through my own archery journey (with plenty of embarrassing moments), I’m here to guide you through those crucial first steps.
Today, we’re breaking down everything you need to know to start your archery adventure on the right foot. From choosing your first bow to avoiding those facepalm-worthy beginner mistakes, consider this your roadmap to becoming the archer you’ve imagined.
Is Archery Right for You?
Before diving into equipment and techniques, let’s address some common questions:
Is 30 too old to start archery? Absolutely not! Unlike some sports that favor youth, archery welcomes beginners of all ages. I’ve seen people in their 70s pick up a bow for the first time and fall in love with the sport.
Is archery hard on your body? When done correctly, archery strengthens your core, improves posture, and builds upper body strength without excessive strain. The key is starting with an appropriate draw weight – more on that later!
Do you need to be fit to do archery? Basic fitness helps, but archery is accessible to nearly everyone. The sport actually improves your fitness over time, building specific muscle groups gradually.
Choosing Your First Bow: The Foundation of Your Archery Journey
Picking your first bow is like choosing a dance partner – you need something that matches your style, strength, and goals. Let me break down your options:
Types of Bows for Beginners
| Bow Type | Pros | Cons | Best For |
|---|---|---|---|
| Recurve | Affordable, traditional Olympic style, great for learning fundamentals | Requires more skill to master accuracy | Beginners wanting to develop proper form |
| Compound | Higher accuracy, reduced holding weight at full draw | More expensive, complex maintenance | Those with physical limitations or hunting interests |
| Barebow | Simplicity, focuses on instinctive shooting | Lower initial accuracy | Purists who enjoy the challenge |
| Longbow | Beautiful traditional experience | Steeper learning curve | History enthusiasts and traditionalists |
For absolute beginners, a recurve bow in the 20-25 pound draw weight range is the sweet spot. This is light enough to practice good form without straining, yet heavy enough to feel the proper dynamics of archery.
“I started with a 35-pound bow because I thought I was strong. Big mistake! After two weeks of shoulder pain and frustrating sessions, I switched to a 25-pound recurve. My accuracy improved instantly, and I could practice longer without fatigue.”
What size bow should a beginner use? Your height determines your ideal bow length. For most adults between 5’5″ and 6’0″, a 68-inch recurve works well. Taller? Consider a 70-inch. Shorter? A 66-inch might be perfect.

Essential Starter Equipment
Beyond the bow itself, you’ll need:
- Arrows – Aluminum arrows offer the best value for beginners, with carbon being another good option
- Arm Guard – Prevents painful string slap against your forearm (trust me, you want this!)
- Finger Tab – Protects your fingers and enables clean string release
- Quiver – Keeps arrows organized and accessible
- Bow Stringer – The safe way to string and unstring your bow
[INSERT IMAGE: Basic archery equipment laid out with labels]
A complete beginner set like the Samick Sage package or Club Kit 1 recurve packages offer excellent value, containing everything you need to get started. Expect to spend $150-$300 for a quality starter set that won’t need immediate upgrading.
Mastering the Basics: The 6-Phase Shot Cycle
Now for the fun part – actually shooting! Let’s break down the perfect shot into manageable steps:
1. Stance: Your Foundation
Your feet should form roughly a 90° angle to the target line, shoulder-width apart. Distribute your weight 60/40 between your front and back foot, with slight knee flexion. Think of yourself as a stable tower – rooted but not rigid.
2. Nocking the Arrow
Place the arrow on the arrow rest, rotating so the index fletching (often a different color) faces away from the bow. Push until you hear a subtle “click” as the nock attaches to the string.
3. Hand Positioning
For your bow hand: Create an “L” shape between your thumb and fingers, with the bow resting on the meaty part of your thumb pad. Avoid gripping the bow – let it rest naturally.
For your string hand: Use a three-finger “split” grip – one finger above the arrow, two below – hooking at the first joint of your fingers.
4. Drawing the Bow
Stand tall and engage your back muscles first. Draw the string by pulling your elbow back and around, rather than just using your arm. Your draw should feel like you’re squeezing your shoulder blades together.
“My coach taught me to think of drawing as ‘expanding’ rather than pulling. This mental shift transformed my shooting overnight.”
5. Anchoring
Find a consistent contact point – most beginners touch their index finger to the corner of their mouth. Your anchor is your home base, the place you return to for every shot.
6. Release and Follow-Through
Relax your fingers to release the string – don’t “pluck” it. Keep your bow arm raised until the arrow hits the target. Your release should feel like dropping a ping pong ball from your fingers – effortless and smooth.
[INSERT IMAGE: Series of photos showing proper stance and form through the shot sequence]
Common Beginner Mistakes (And How to Avoid Them)
I’ve made all these mistakes so you don’t have to:
- Starting with too heavy a draw weight – The #1 beginner error! Start with 20-25 pounds and work up gradually.
- Gripping the bow too tightly – Let the bow rest in your hand; a death grip causes torque and inaccuracy.
- Focusing on the wrong visual references – Look through your sight at the target, not at your arrow tip.
- Plucking the string on release – Relax your fingers rather than actively opening them.
- Rushing the process – Take your time to set up each element of your shot. Speed comes with practice.
- Neglecting equipment maintenance – Wax your string every 200 shots and check for fraying.
“I spent three frustrating months trying to improve my grouping before realizing my arrows were too stiff for my bow. Equipment matching matters!”
A Beginner’s Training Plan
Here’s a 12-week roadmap to get you from complete novice to confident archer:
Weeks 1-4: Form Foundation
- Practice at close range (5-10 yards)
- 15-minute daily sessions focusing on stance and alignment
- Record yourself to check form
- Goal: Consistency over accuracy
Weeks 5-8: Precision Building
- Introduce proper targets at 10-15 yards
- Develop a consistent pre-shot routine
- Begin tracking scores to measure progress
- Goal: Grouping arrows (even if not in bullseye)
Weeks 9-12: Skill Expansion
- Gradually increase distance
- Consider small draw weight increases if ready
- Add endurance training (more arrows per session)
- Goal: Consistent form even when fatigued
Safety First: Non-Negotiable Archery Rules
Archery is incredibly safe when these fundamentals are followed:
- Never point a loaded bow at anything you don’t intend to shoot
- Always inspect equipment before shooting
- Only nock an arrow when on the shooting line
- Respect the range officer’s commands immediately
- Wait for “clear” signals before retrieving arrows
How do you know if a bow is safe to shoot? Check for cracks in the limbs, fraying in the string (visible separation over 1mm is dangerous), and ensure all screws and fittings are tight.
Where to Practice as a Beginner
While backyard practice might seem convenient, I recommend starting at a proper archery range where coaches can guide you. Many offer:
- Equipment rental (perfect for trying before buying)
- Beginner classes with qualified instructors
- Safe, properly measured ranges
- Community with fellow archers who love sharing tips
Is it legal to practice archery at home? Laws vary dramatically by location. Check your local ordinances, HOA rules, and state laws before setting up a home range. You’ll need adequate space (minimum 20 yards), a proper backstop, and often specific setbacks from property lines.
The Mental Game: Archery’s Secret Weapon
What separates good archers from great ones isn’t just physical technique – it’s mental focus. Even as a beginner, develop these habits:
- Pre-shot visualization – Picture the perfect shot before drawing
- Breathing control – Establish a consistent breathing pattern
- Positive self-talk – Replace “don’t miss” with “hit the center”
- Process focus – Concentrate on executing each step perfectly rather than the end result
“On days when I can quiet my mind and focus only on process, my arrows magically find the center. On days when I obsess about score, they scatter like spooked birds.”
When to Consider Upgrades
As you progress, you’ll develop preferences that might lead to equipment changes:
- Draw weight – Increase by no more than 5 pounds at a time
- Stabilizers – Add when your form is consistent to reduce bow movement
- Sights – Upgrade from basic pin sights to more adjustable options
- Arrows – Match more precisely to your draw length and weight
The beauty of starting with a quality beginner set is that many components can be upgraded individually without replacing everything at once.
Conclusion: Your Archery Journey Awaits
Archery offers something rare in our fast-paced world – a moment of perfect focus where nothing exists except you, your bow, and the target. The journey from complete beginner to confident archer isn’t measured in bullseyes, but in the joy of progress, the meditation of practice, and the community you join.
Start with appropriate equipment, focus relentlessly on proper form, embrace the learning process, and you’ll discover why this ancient sport continues to captivate modern enthusiasts.
Ready to nock your first arrow? Remember, every expert archer once stood exactly where you stand now – at the beginning of an incredible journey. The only difference between them and you is time and practice.
What archery questions do you still have? Drop them in the comments below, and our community will help you find your way!

